
relive XR
My 2017 diploma project that turned 360° footage into walkable memory worlds – years before Gaussian Splatting and the Vision Pro made reliving memories a product category.

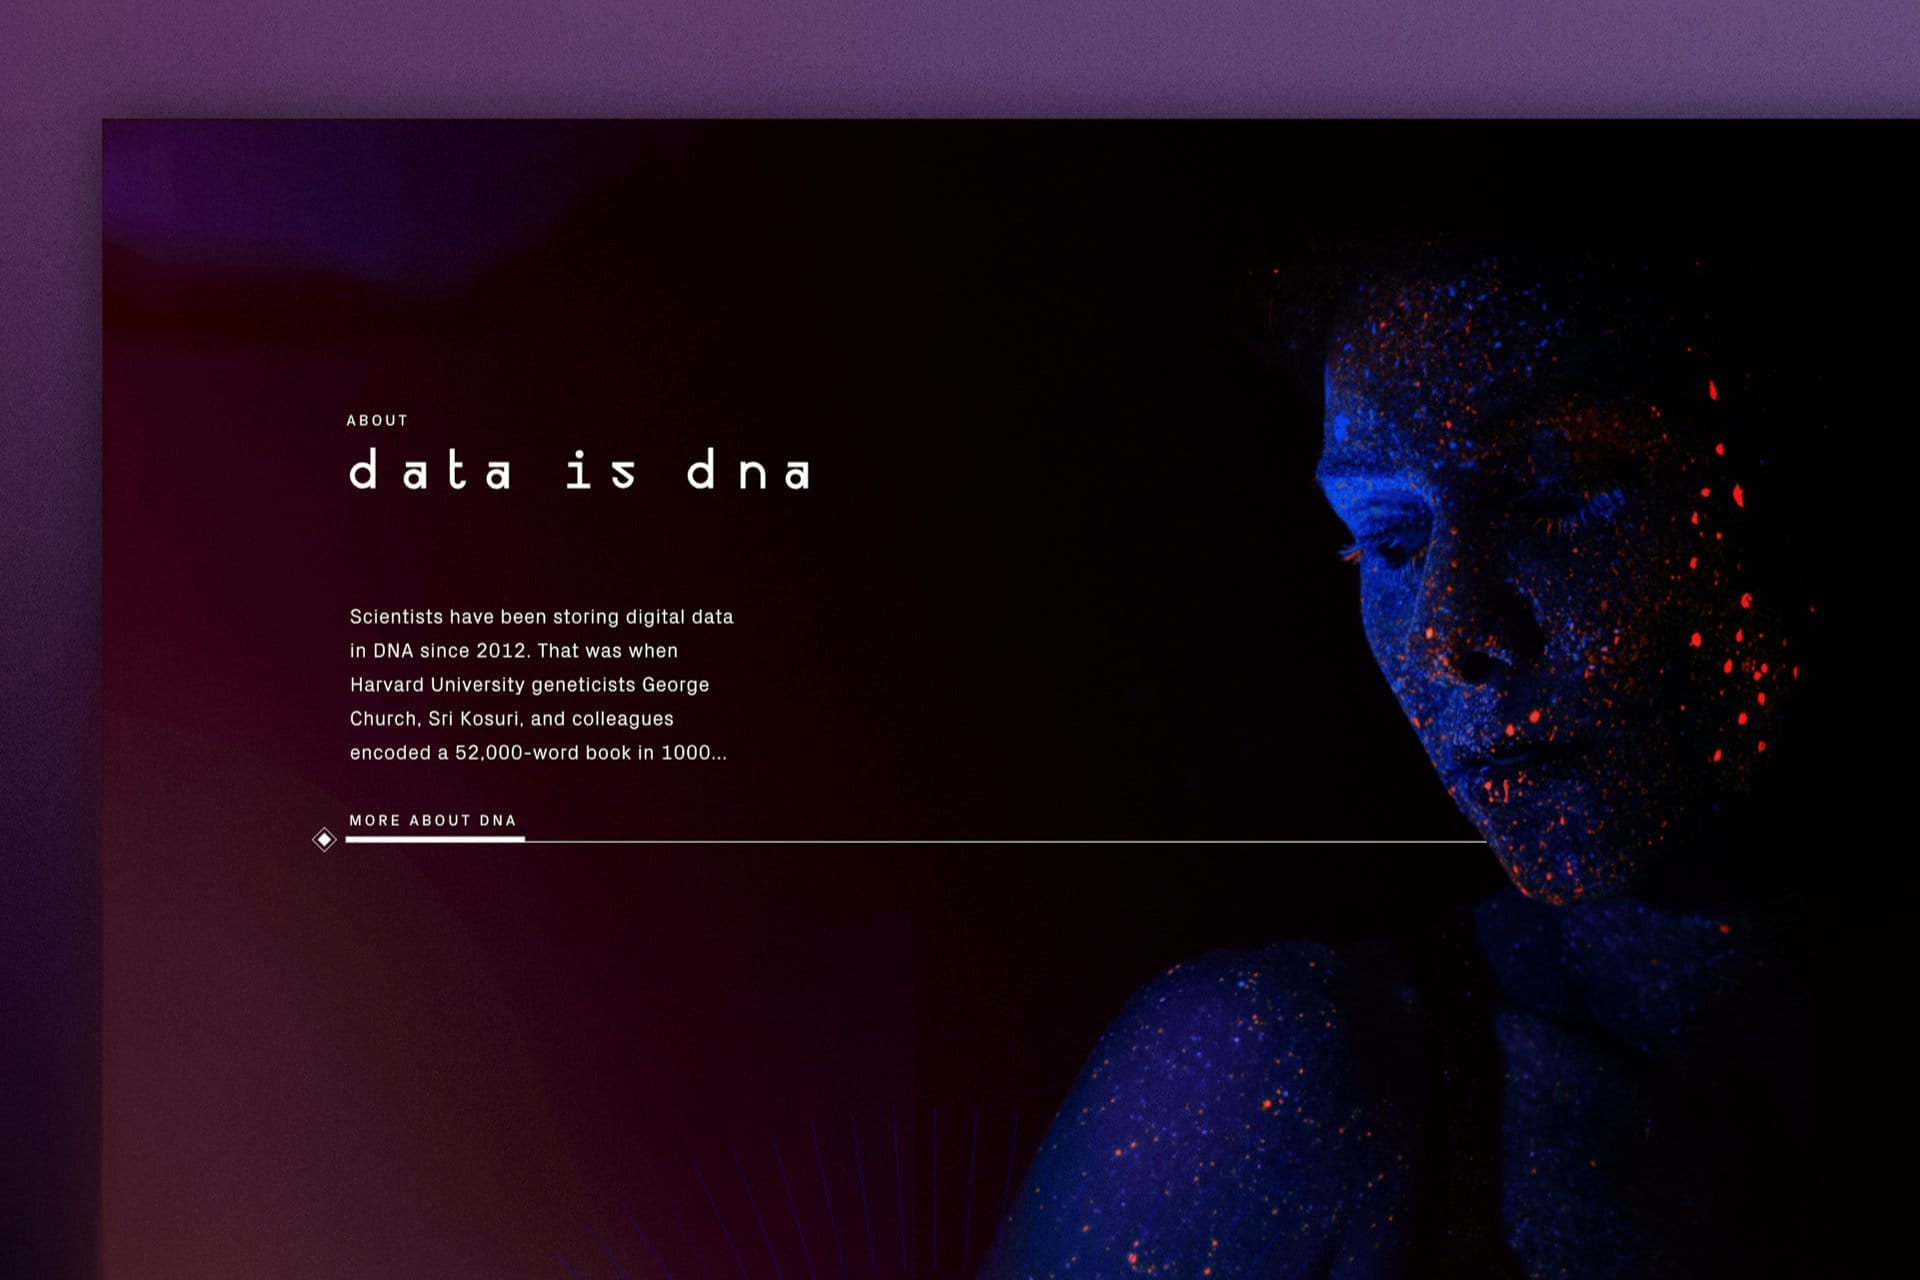
Humans have a natural desire to store and preserve memories – in the digital age, that drive turns into an even greater need to store data. Technology has made it possible to capture and access vast amounts of photos, videos and multimedia. Today we can not only store these memories but relive them with a level of detail and immersion that used to be unthinkable.
relive XR is an XR app built for exactly that: reliving precious memories in an immersive, interactive way. The concept is based on people's primal desire to preserve their most valuable moments and experiences.
This project page is divided into different levels – all of them branching out from here.
For the web experience, you can scroll through the onepager on Behance.

Meet relive XR
Relive is a fictitious company that operates a platform of the same name for storing and enhancing user data. The software processes and categorizes all available data fully automatically, using AI algorithms to reassemble the fragments into immersive, interactive experiences. With relive XR, memories feel like they are happening all over again – in vivid detail and with all the emotions of the original moment. Whether it's a special childhood memory or a recent event worth capturing and sharing: relive XR is the tool for it.
Project Info
relive is a non-commercial project I designed as part of my diploma at Design Factory International to explore the potential of XR for preserving memories, enhancing experiences and storytelling. The project was made possible by high-resolution source material – the font, 360° moving image content and the video player. Still, some heavy post-processing and technical conversions were needed to make it all work. In my view, the project showcases the potential of XR for immersive content across games, advertising and trade fair presentations. The hybrid approach of motion, video and VR interaction opens up near-endless possibilities.
Research and Development
The R&D part was huge and extended far beyond the actual development timeframe. Many factors played into it: I wanted to give the interface design real weight, while converting 360° footage into 3D worlds was a genuine challenge. Since I organized and implemented the project myself, I mapped the process into a tree diagram quite early.
On the 3D side, I worked mostly with Blender and Cinema 4D. The bigger challenge was getting 360° content onto 3D geometry – more on that below.
Product Development Process
In the relive XR showcase, a random selection of the most exciting moments can be relived – reflecting the state of the art in 2017. The contents are 360° videos projected onto geometry, making it possible to save periods of time in a memory place. Within a certain radius you can move through this world and relive the spatial mood.
How do you turn videos into 3D spaces?
The first answer would of course be: photogrammetry! Or better yet – Gaussian Splatting. Except that in 2017, smartphone apps and AI applications were nowhere near as advanced as they are today. On top of that were my constraints: a huge amount of footage, limited computing power and a maximum implementation time of two to three months. So that option was off the table. What I did have was 360° photos and videos en masse, partly in outstanding 4K quality – but the first impression was sobering.
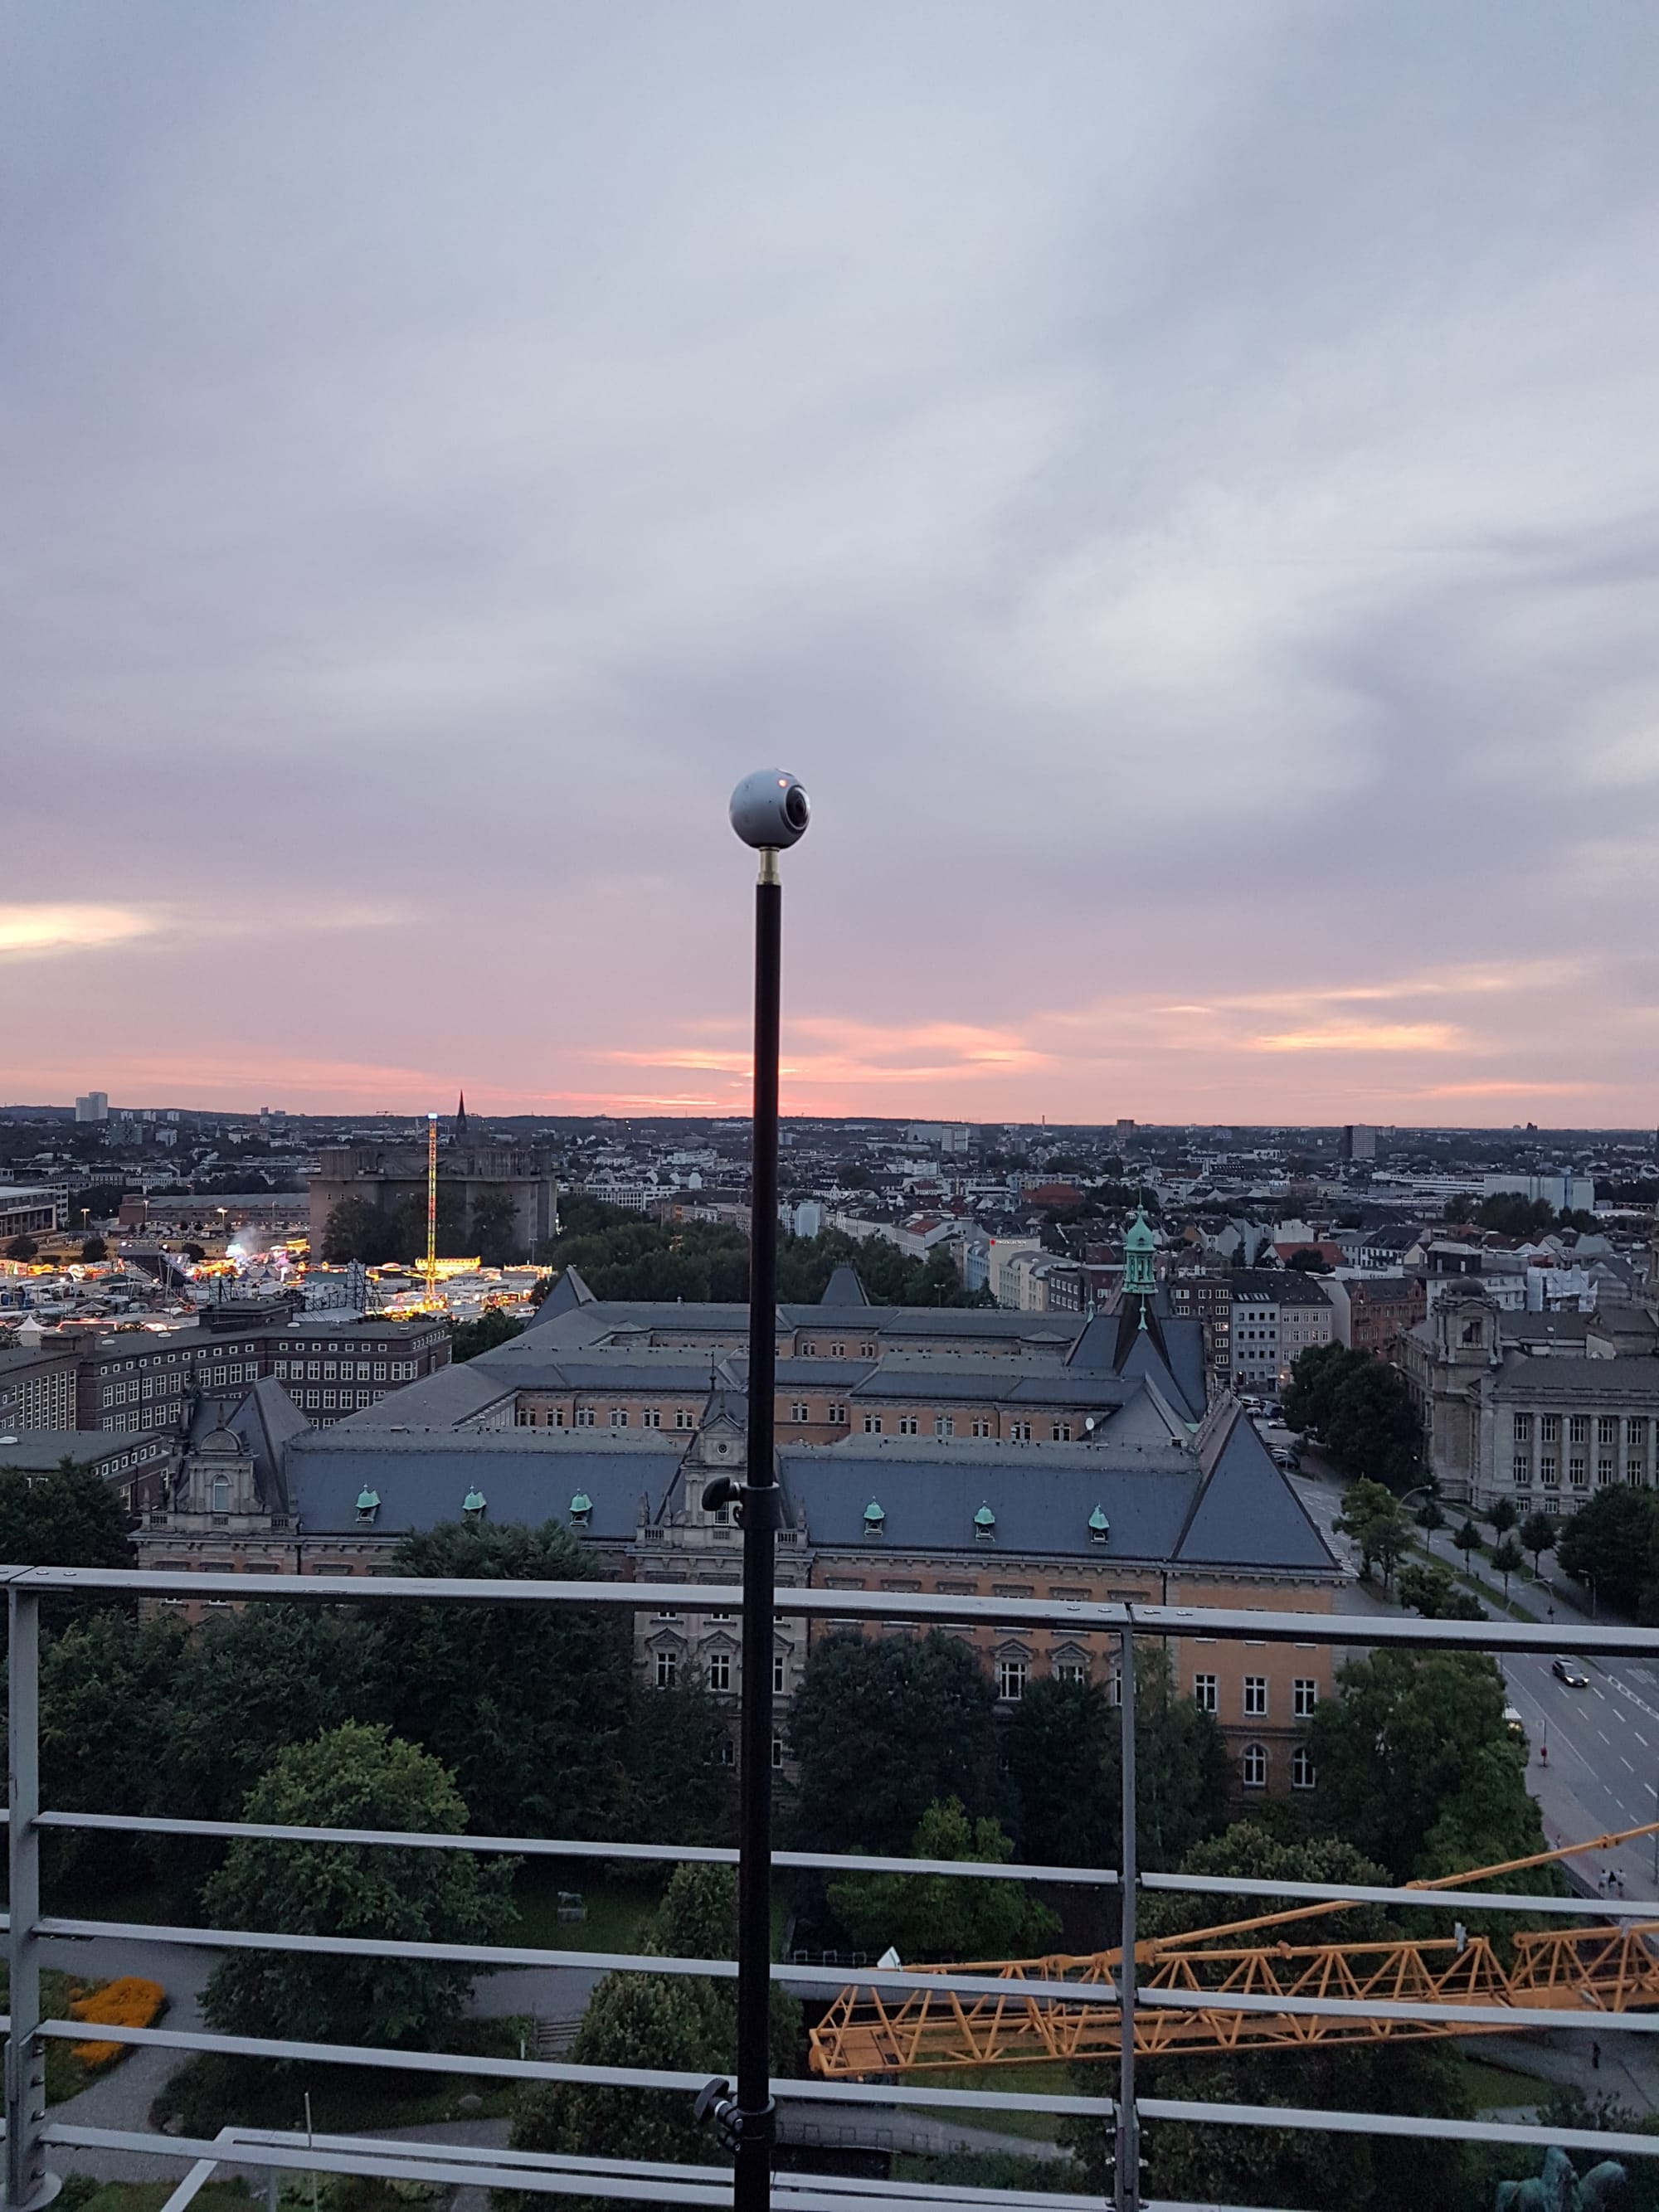
As soon as you try to walk inside a 360° view, the experience falls apart: the image is not spatial and sticks to the position of the head. The spatial effect is missing – the viewer never becomes part of the world. Thanks to my media design education and my time at the post-production company INFECTED (yes, that's their real name), I knew my way around codecs to a certain extent – and videos are, after all, just individual images. All I had to do was find a frame where all content was clearly visible and transfer it from the 2D video into Walkabout Worlds. The following video shows the approach.
To convert and map the 360° content onto 3D geometry, I worked with the experimental tool "Walkabout Worlds". The approach was new at the time and required a lot of manual work. Today, Matterport has a comparable implementation on its platform that produces better and better results automatically – precise and fast, especially combined with infrared tracking data and AI.
What I consider the most elegant solution in the experience design – and the one that worked great in the end – was playing videos on geometry. To create the real feeling of being inside the scene and increase immersion, I added different particle effects: sand particles in the desert, water vapor in the waterfall scene and lightly trickling snow in Alaska.
Experience Design Realization
I used Unity 3D for the XR implementation. Useful wireframes for this were scarce – but the constraints on what can be placed where, and how, were clear. During implementation I often tested multiple PNG layers directly inside the functioning UI. The GUI was created with Affinity Designer and Affinity Photo in 2D and then assembled in Unity in 3D space.
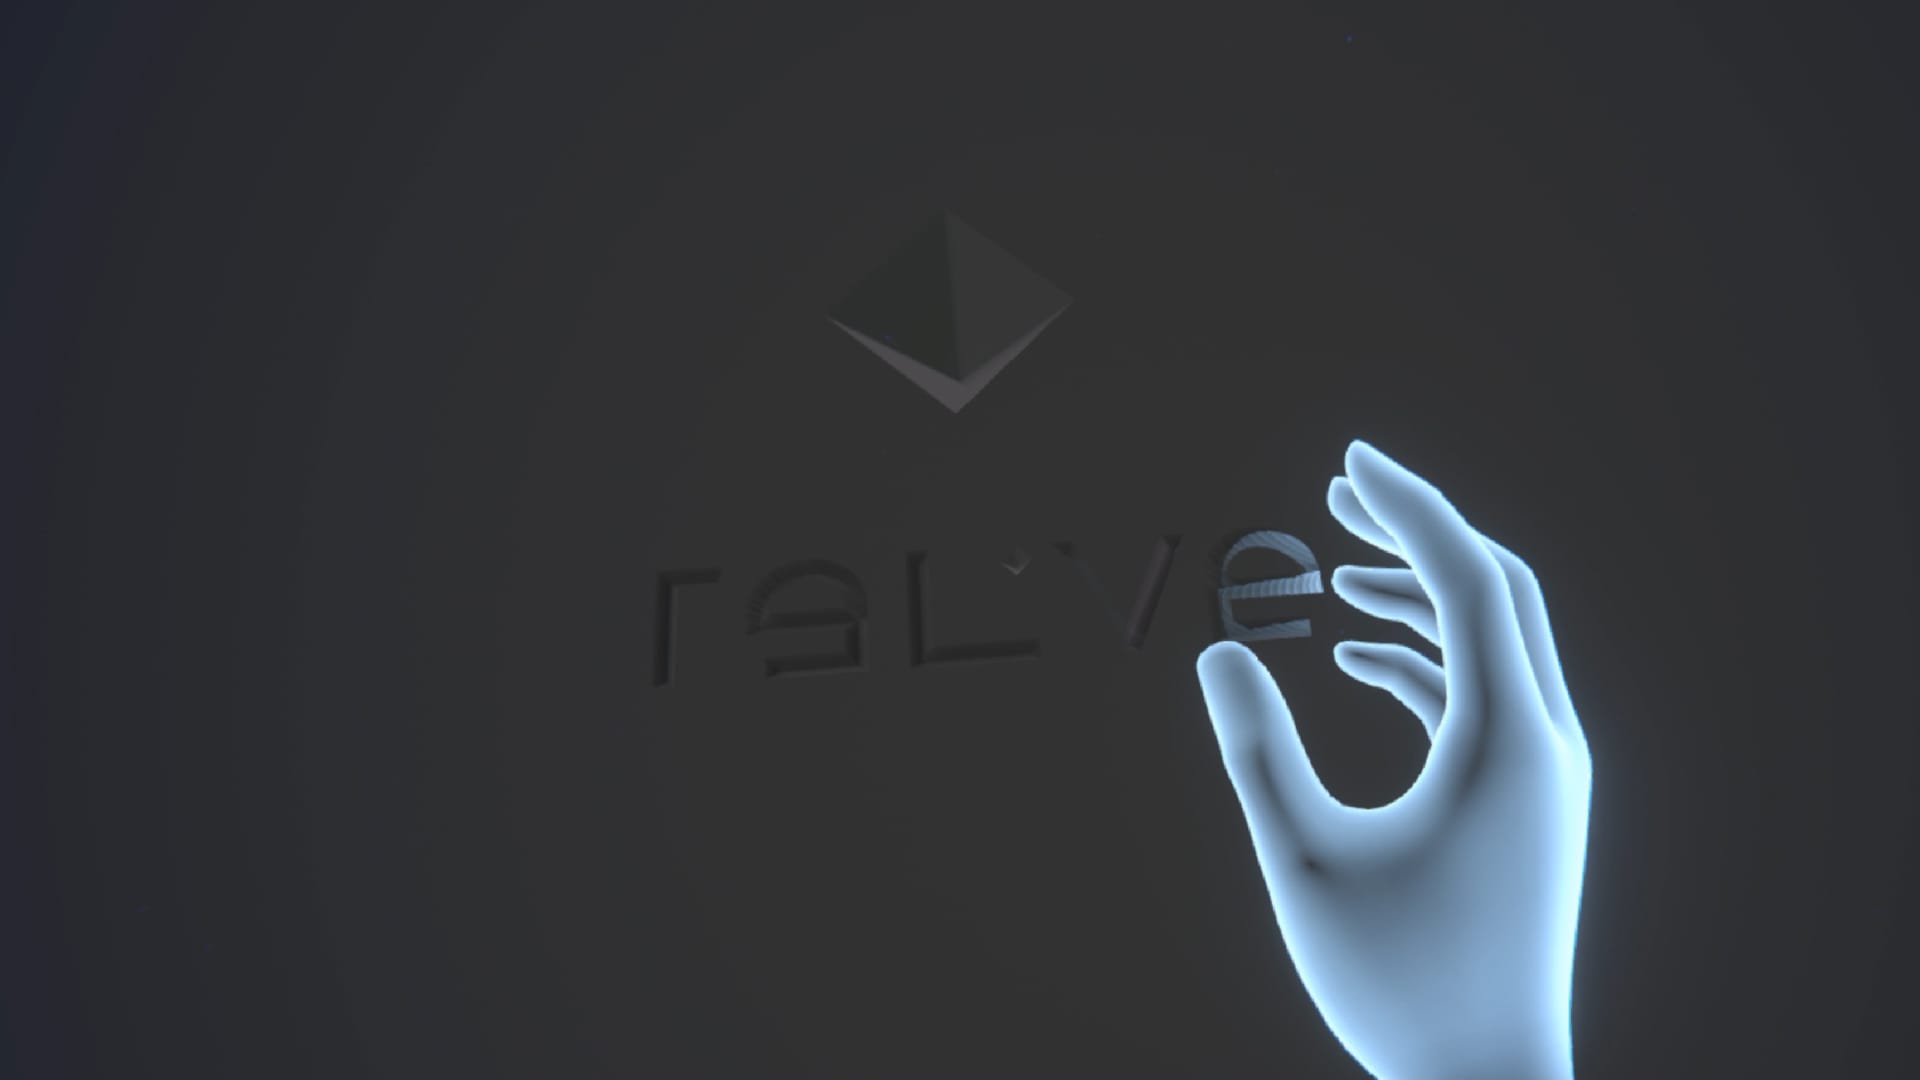
VR UX & UI in relive
A crucial learning came from the phase of conceptual interface development: it makes no sense to overload virtual reality with cyber interfaces just because it is possible. Golden Krishna's book "No interface is the best interface" describes – as the title suggests – the need for simple, functional interactions in real life. And then you keep running into smart XR people who remember the book's title. The problem with bold statements like these: like most wisdom from "experienced" designers, they omit context entirely. And the inevitable context is: you have to try it yourself.
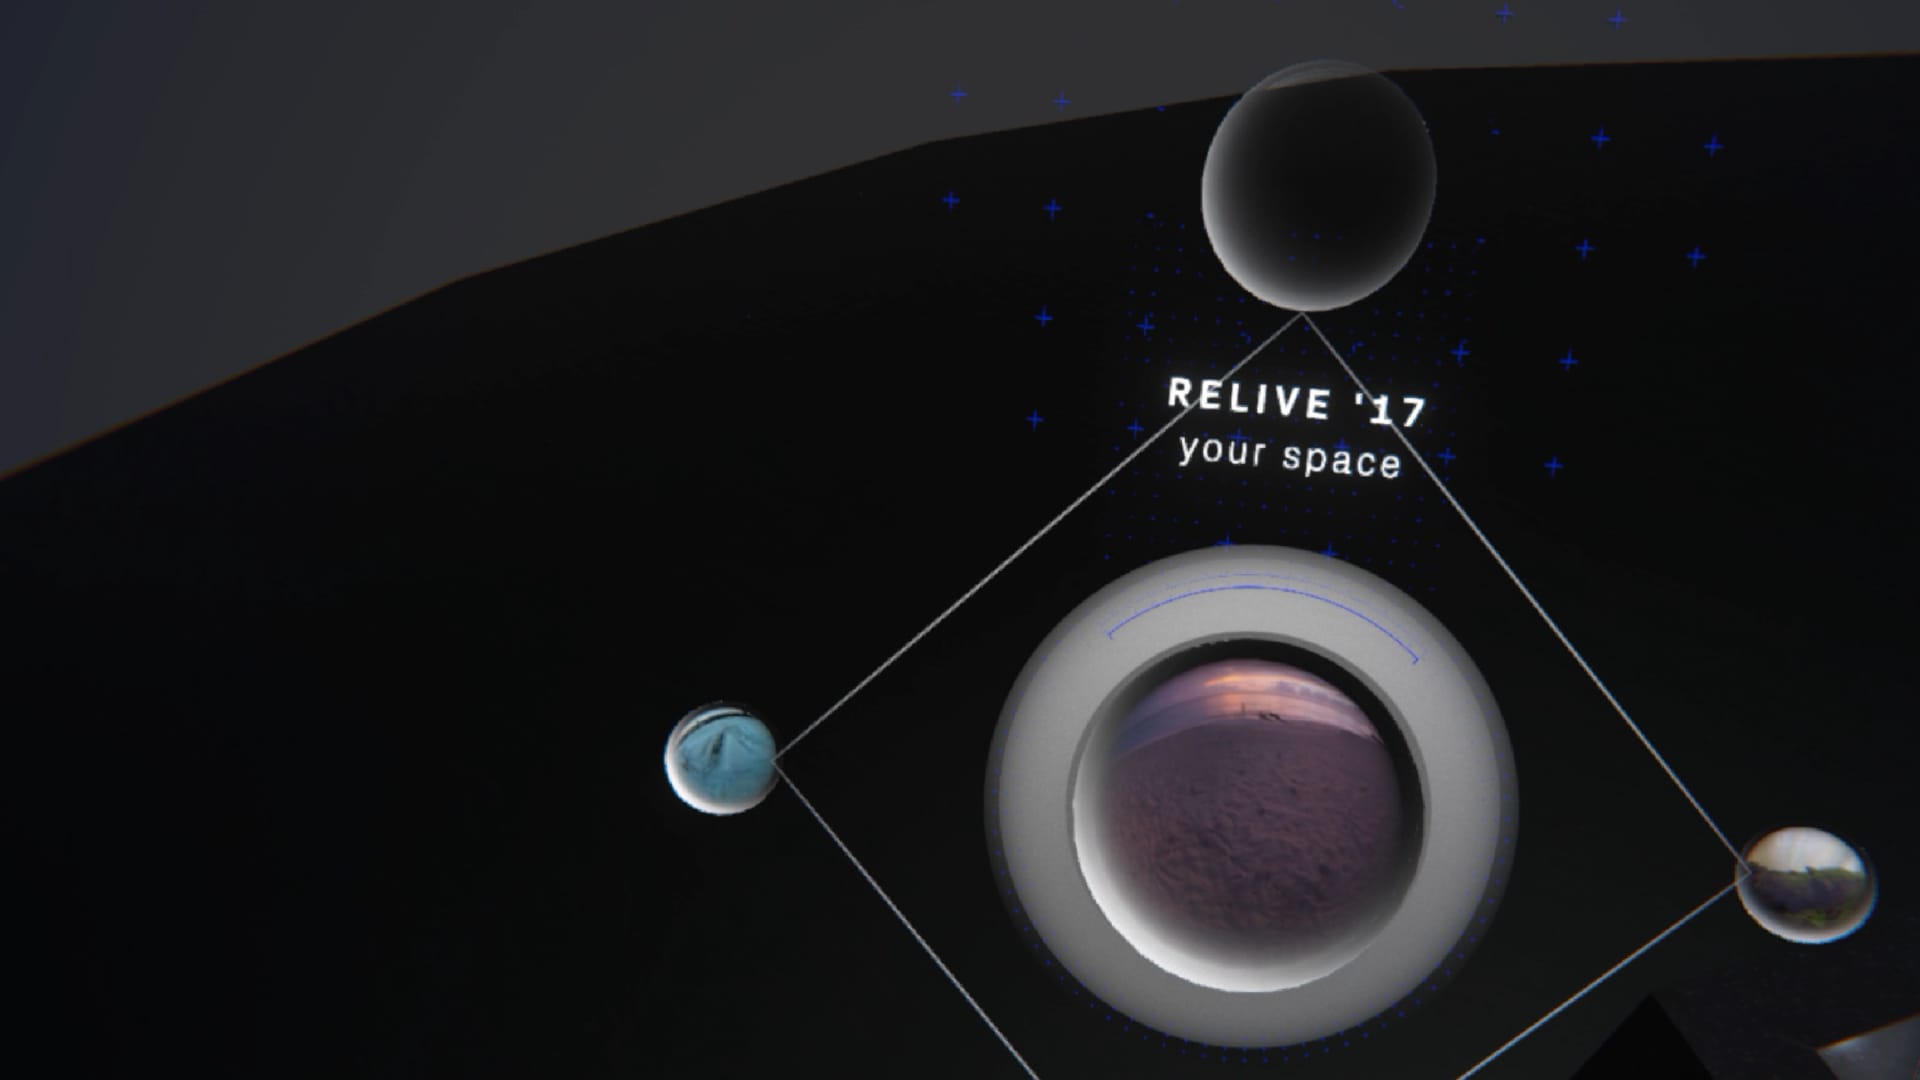
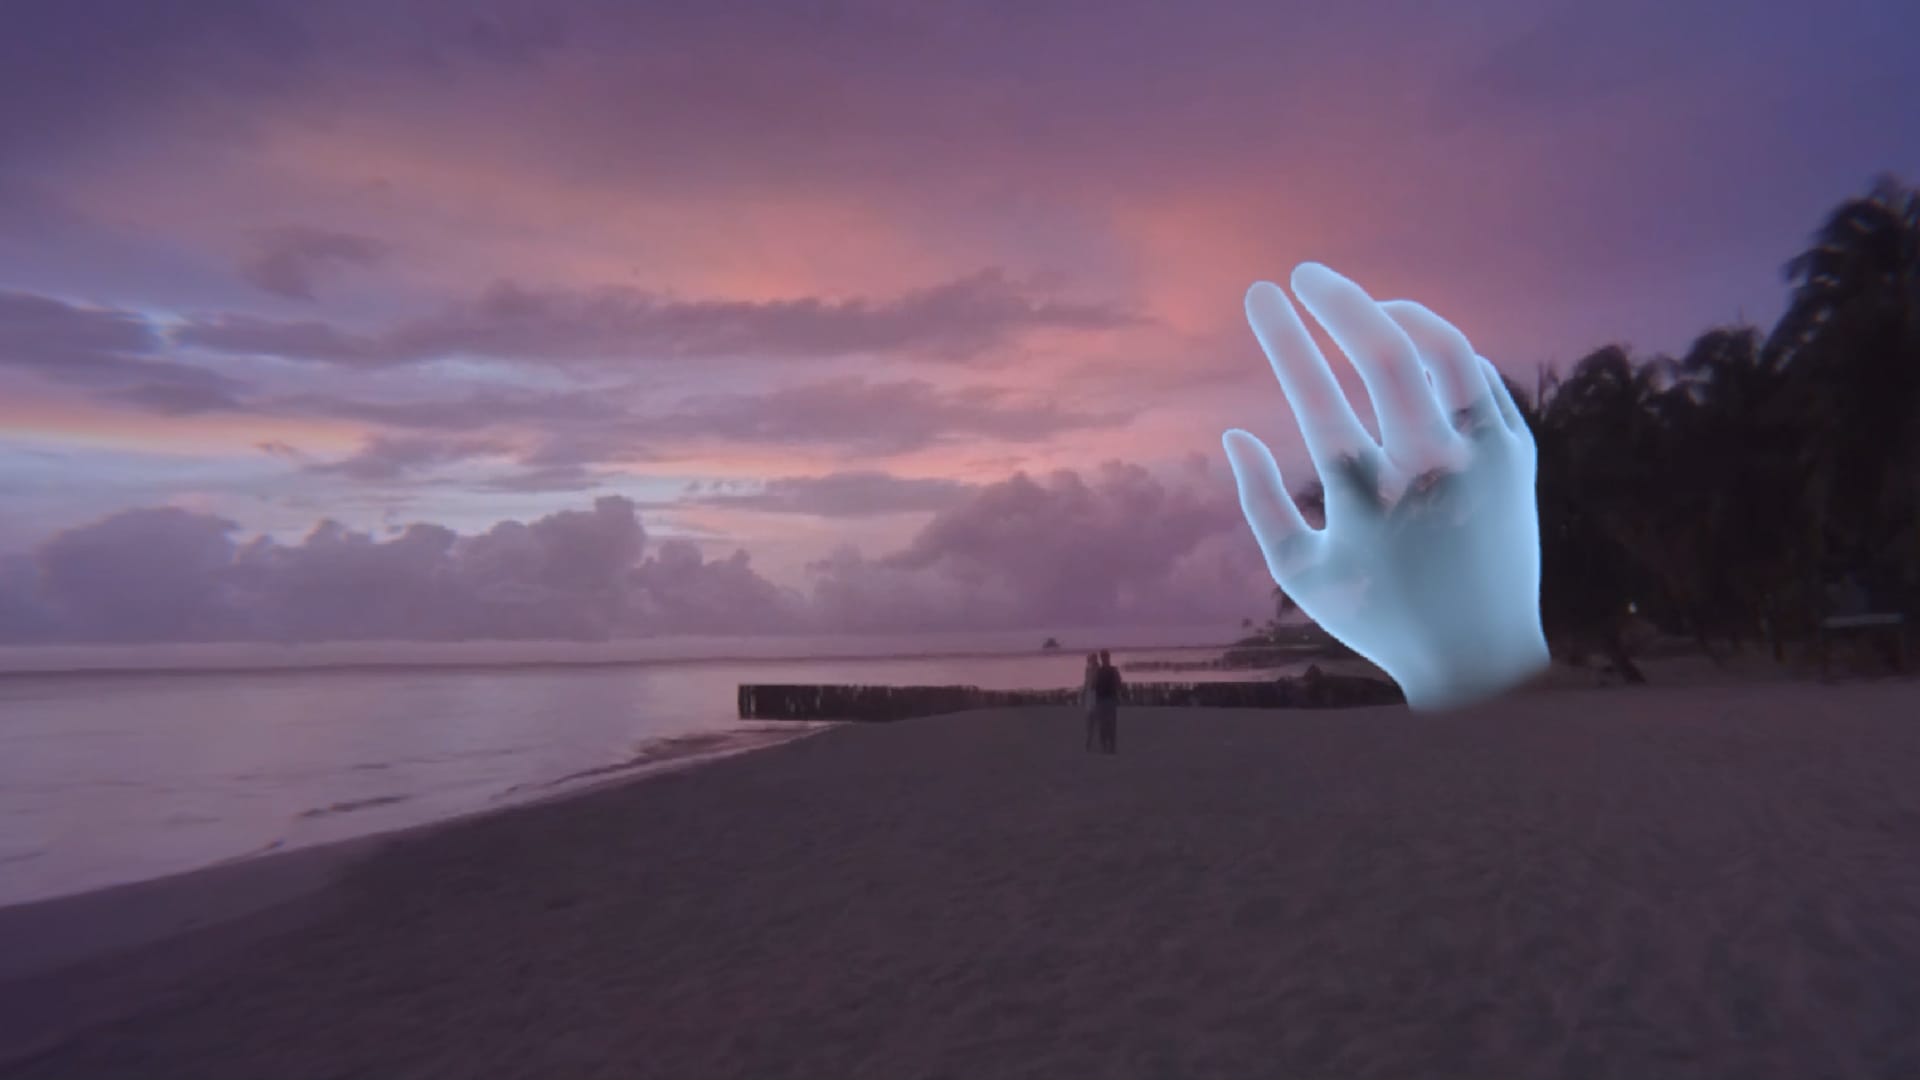
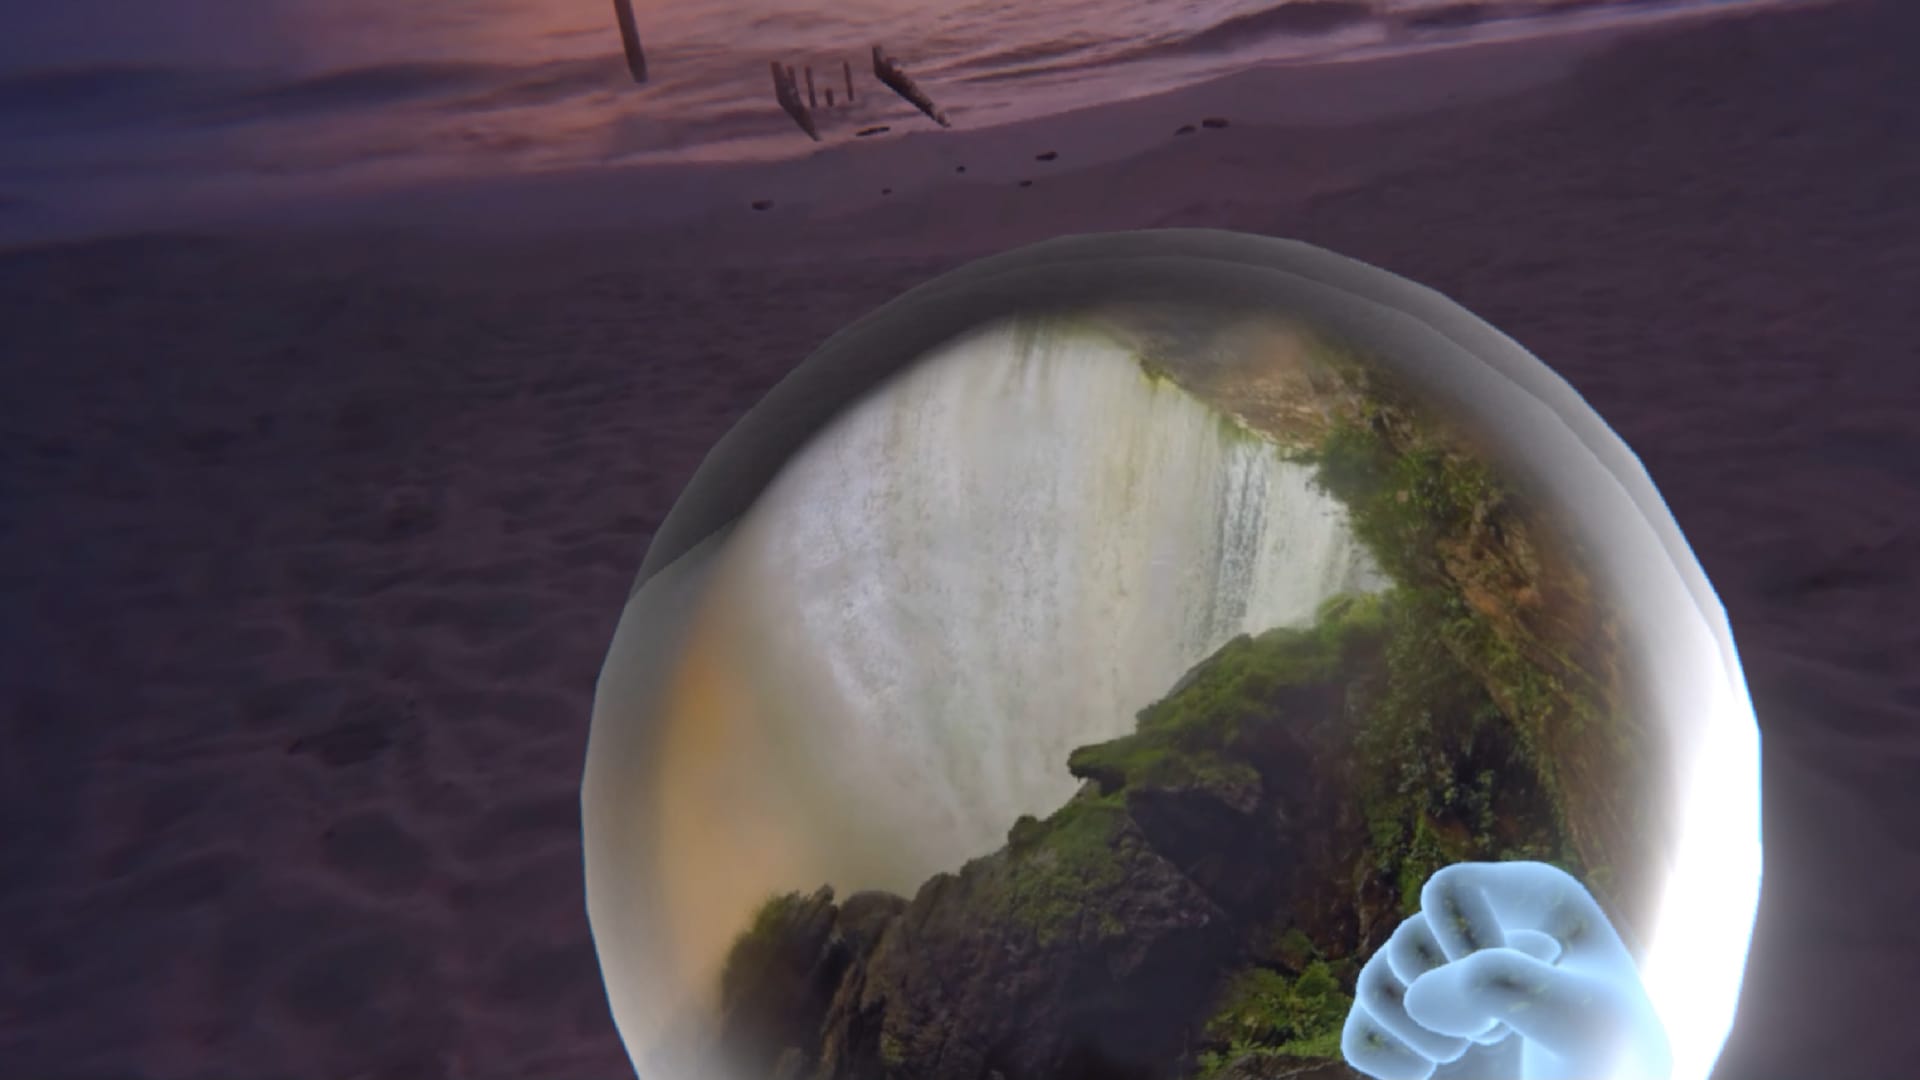
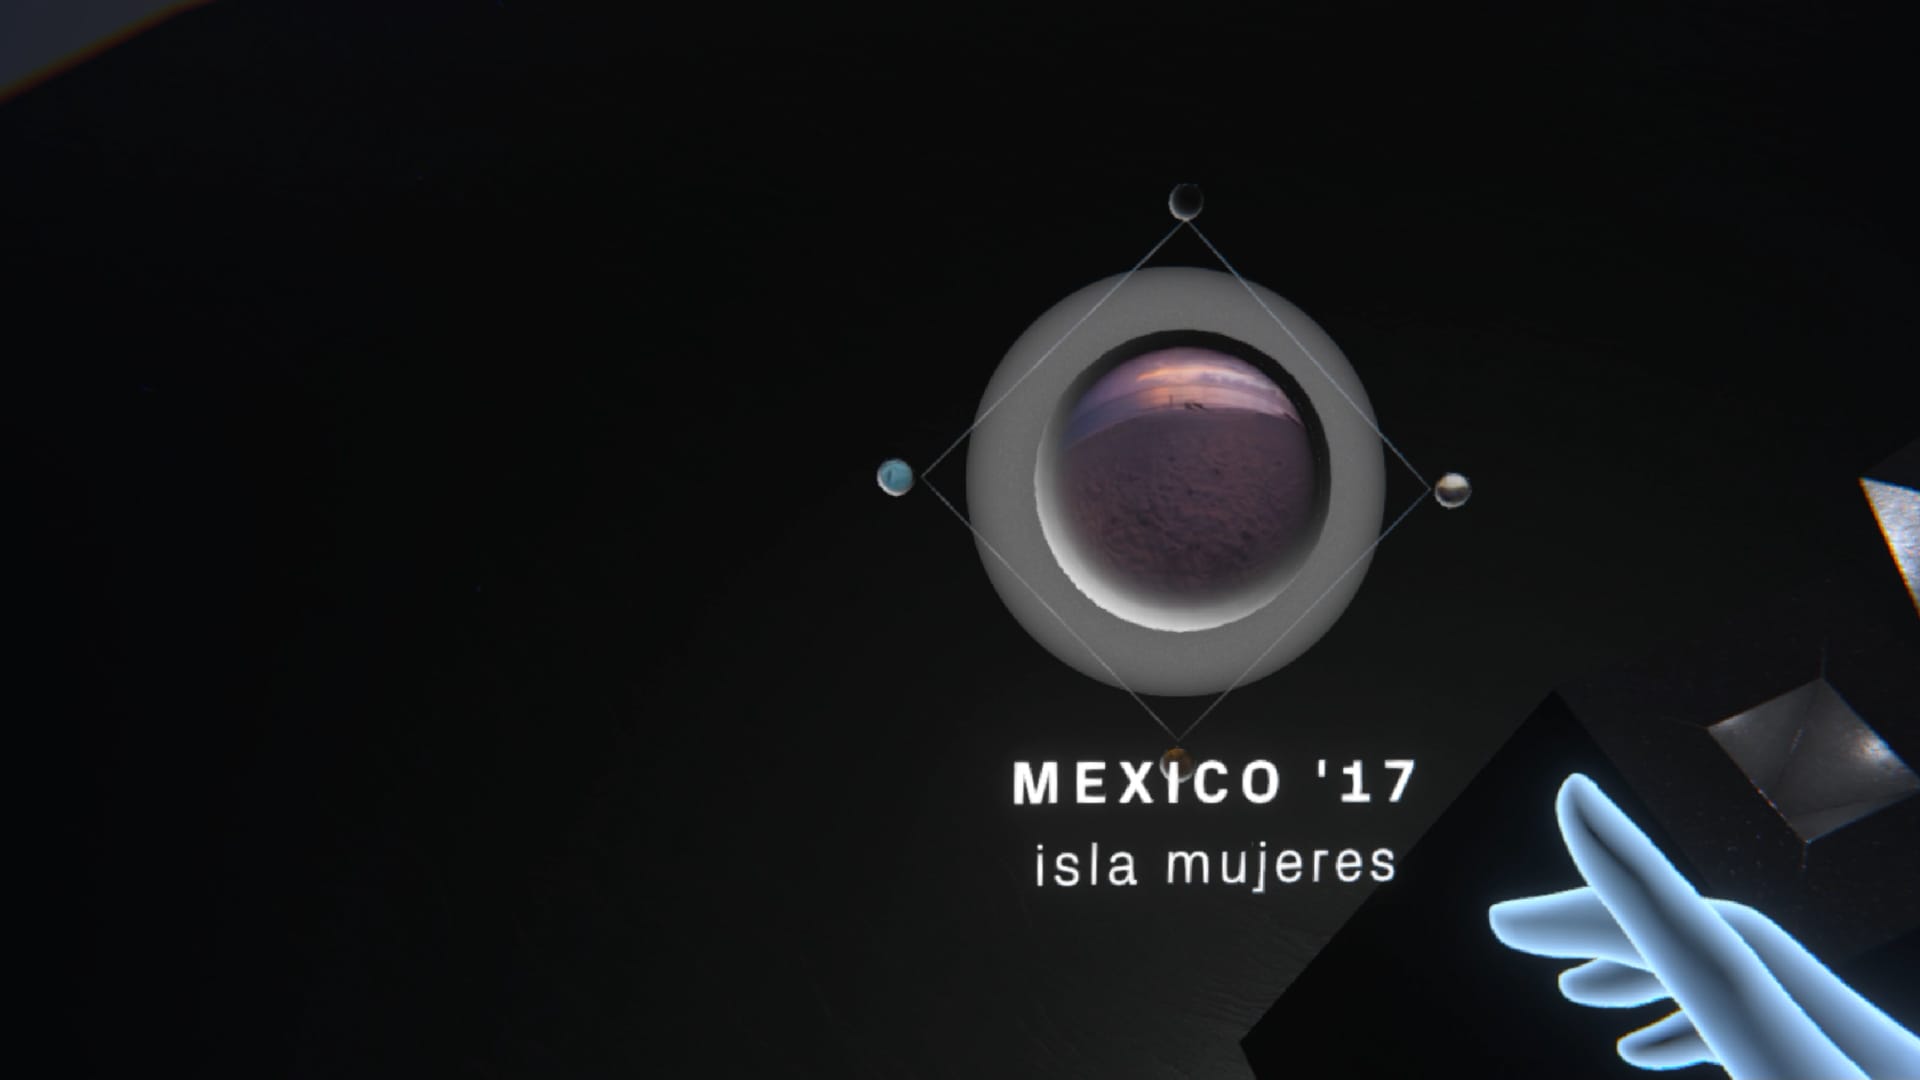
So I did – going back and forth on plenty of way-too-sophisticated design decisions, backed by the principles of Mike Alger and Golden Krishna, more scientific contributions like Alex Chu's and my own best-practice rules. The result: the touch detection on the buttons and the thumbstick in particular make the UI feel "responsive" – the other controller buttons are hard to find.
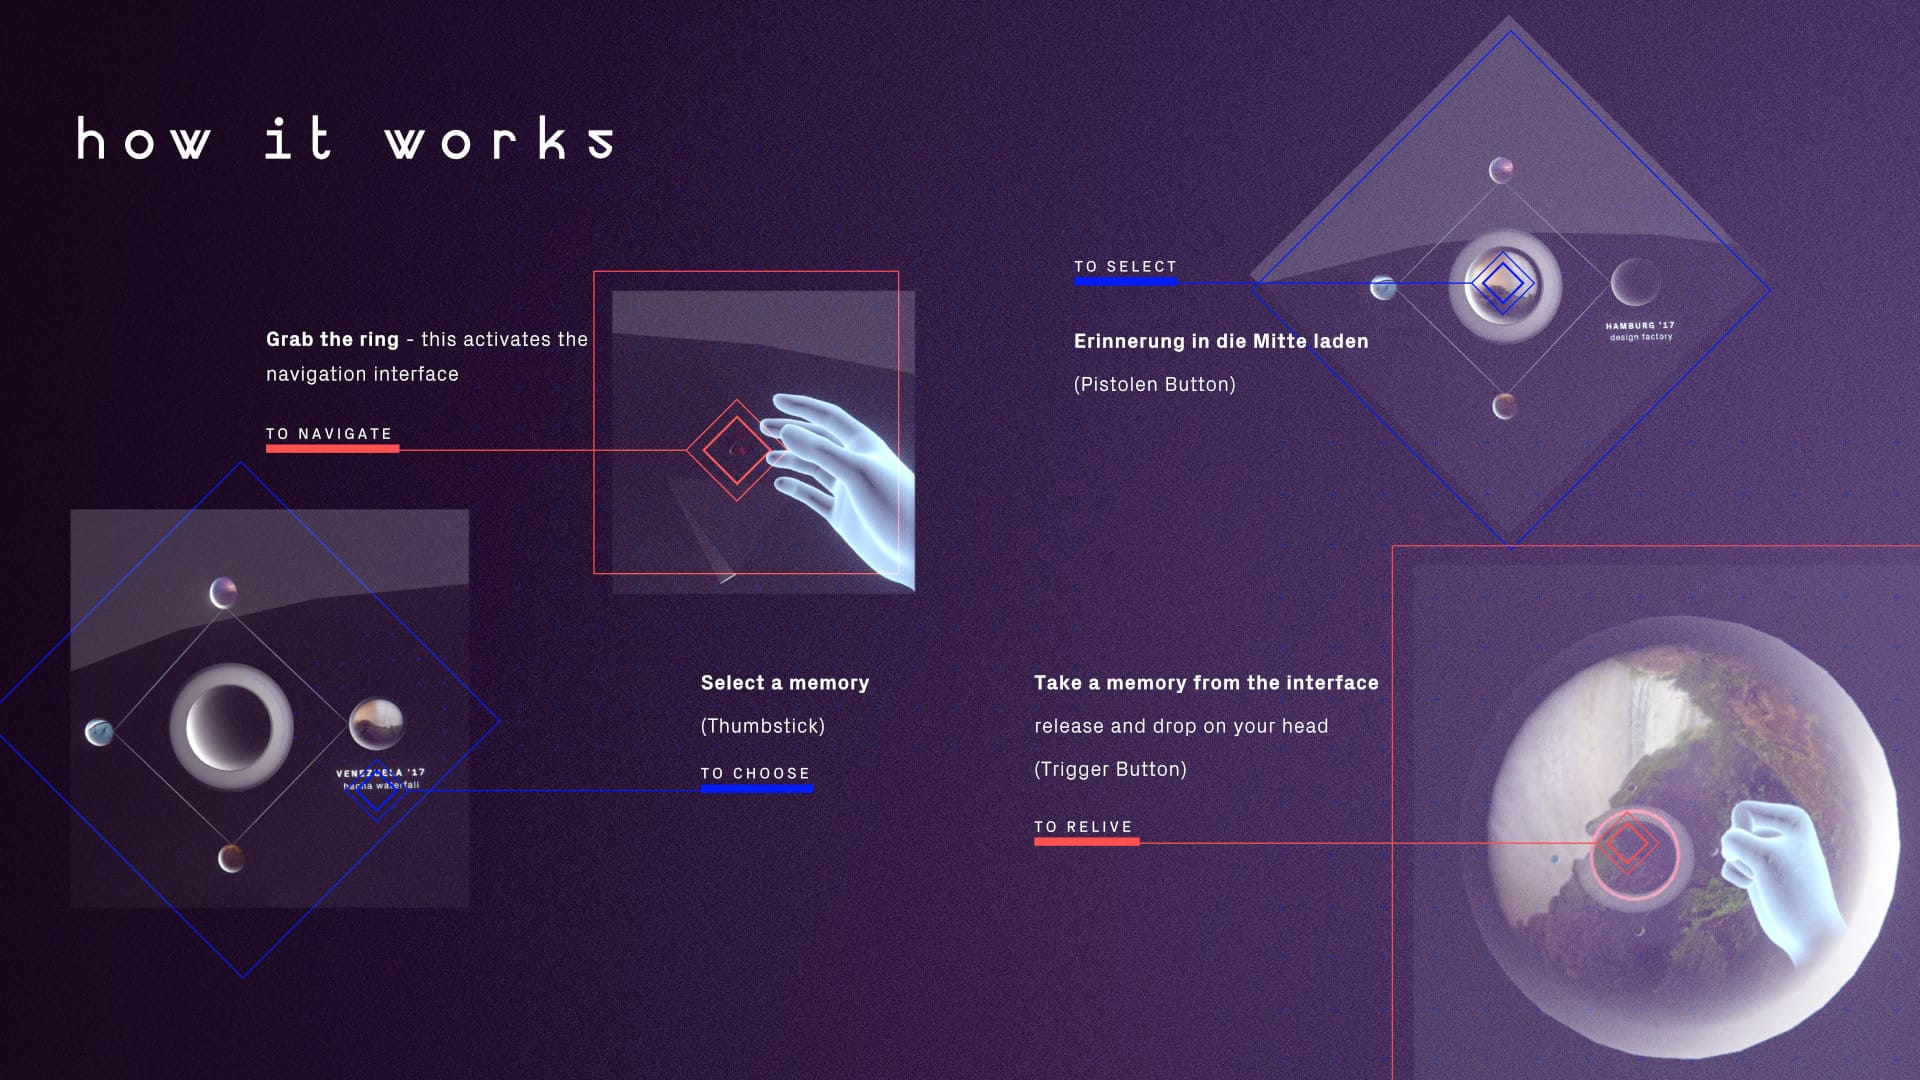
User Guidance
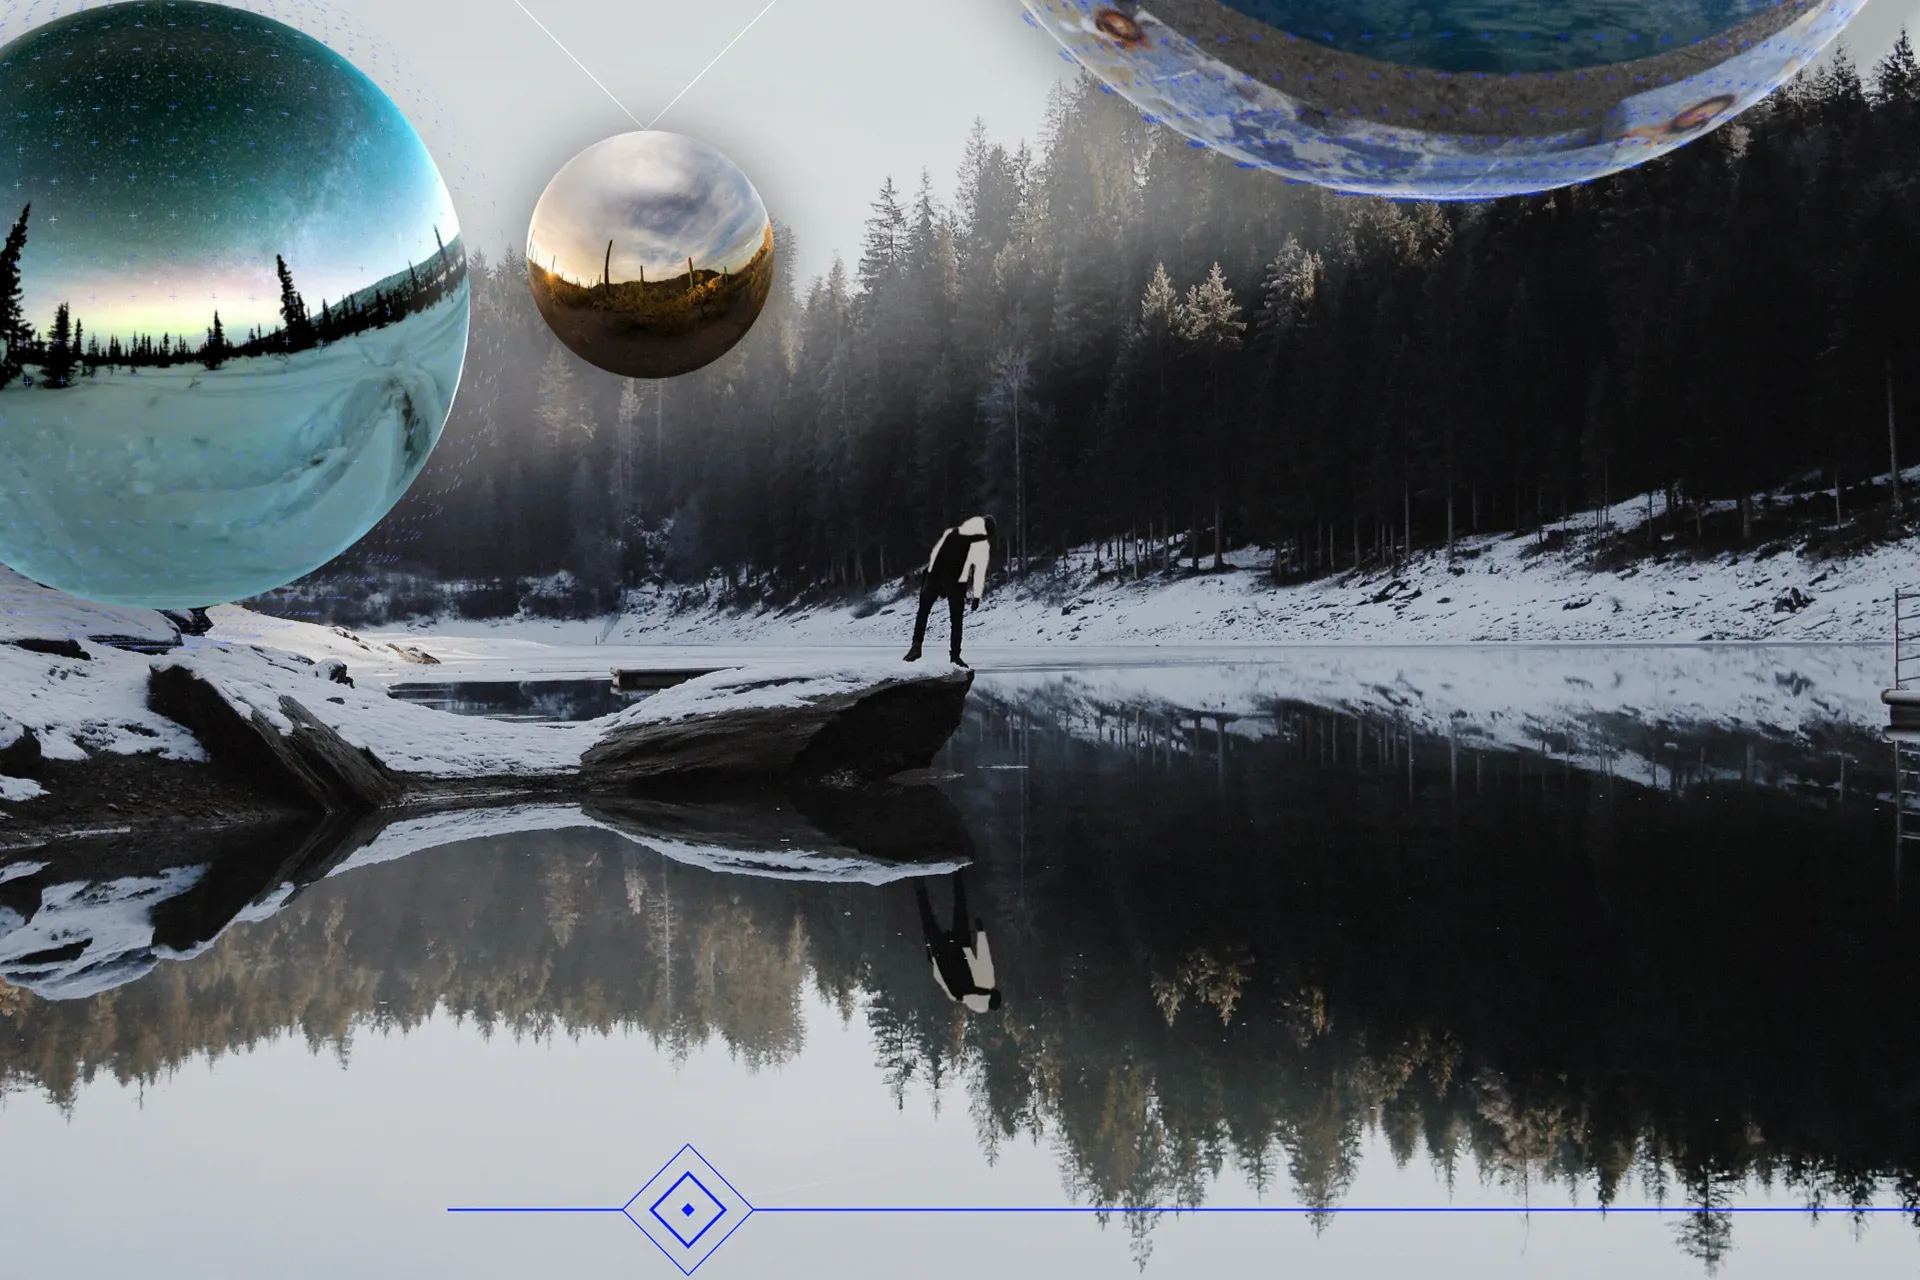
The interaction concept is based on device-typical controller interaction that feels native and responsive. Memory worlds are stored in spheres that can be detached from the interface and placed on the head.
relive UX/UI Design
The aim was to harmonize the concept with the real environment and create a hand menu that is omnipresent in the relive XR experience, allowing jumps from one memory world to another. The most solid result came from combining objects and 2D elements that, layered in depth, create a 3D effect.
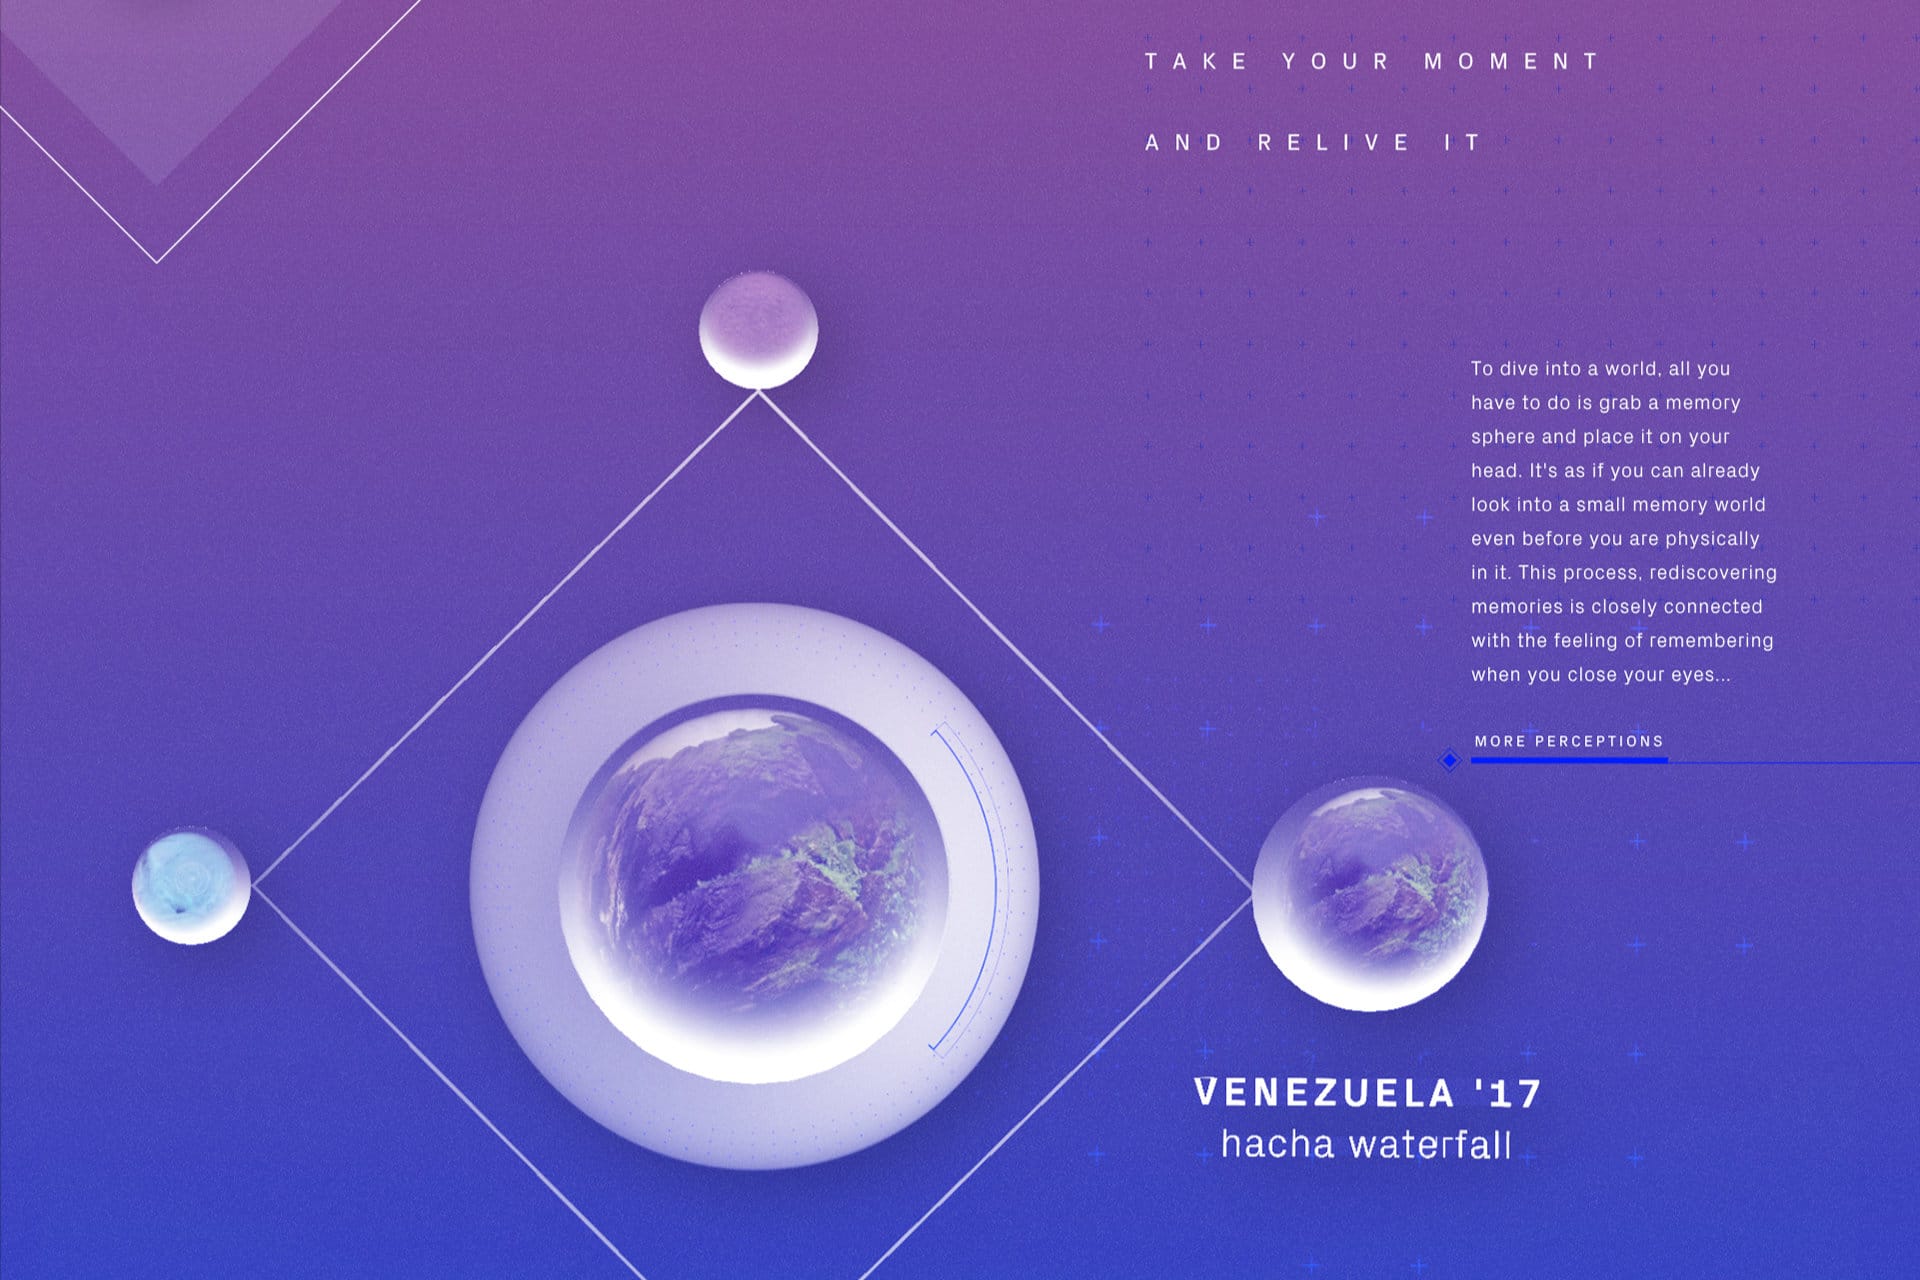
The idea of placing scenes on your head to dive into them had already been implemented by Valve in "The Lab", where the spheres were placed on sockets. In my application, I wanted the memory worlds to live inside the diegetic interface instead, and the instanced placement of the 2D elements to feel more tactile. As with most things in UX design: take proven interaction principles and adapt them to the demands of the task at hand.
As an extension of the memory worlds, I had considered adding a depth timeline. Seeing how well the depth elements and sliding interactions worked with the hand, that would have been the next step – for the case of tens of thousands more memories.
Gameplay & Reviews
I had the opportunity to present relive XR together with Christoph Spinger on the VR-Nerds channel – many thanks for that!
Playtest by Christoph Spinger on the VR-Nerds Youtube channel
relive Product Design
The entire digital design was based on the vision of creating a company and the right face for it – from imagery and visual language to the medium in which the company appears. What sets relive apart are its first products and their simple approach.
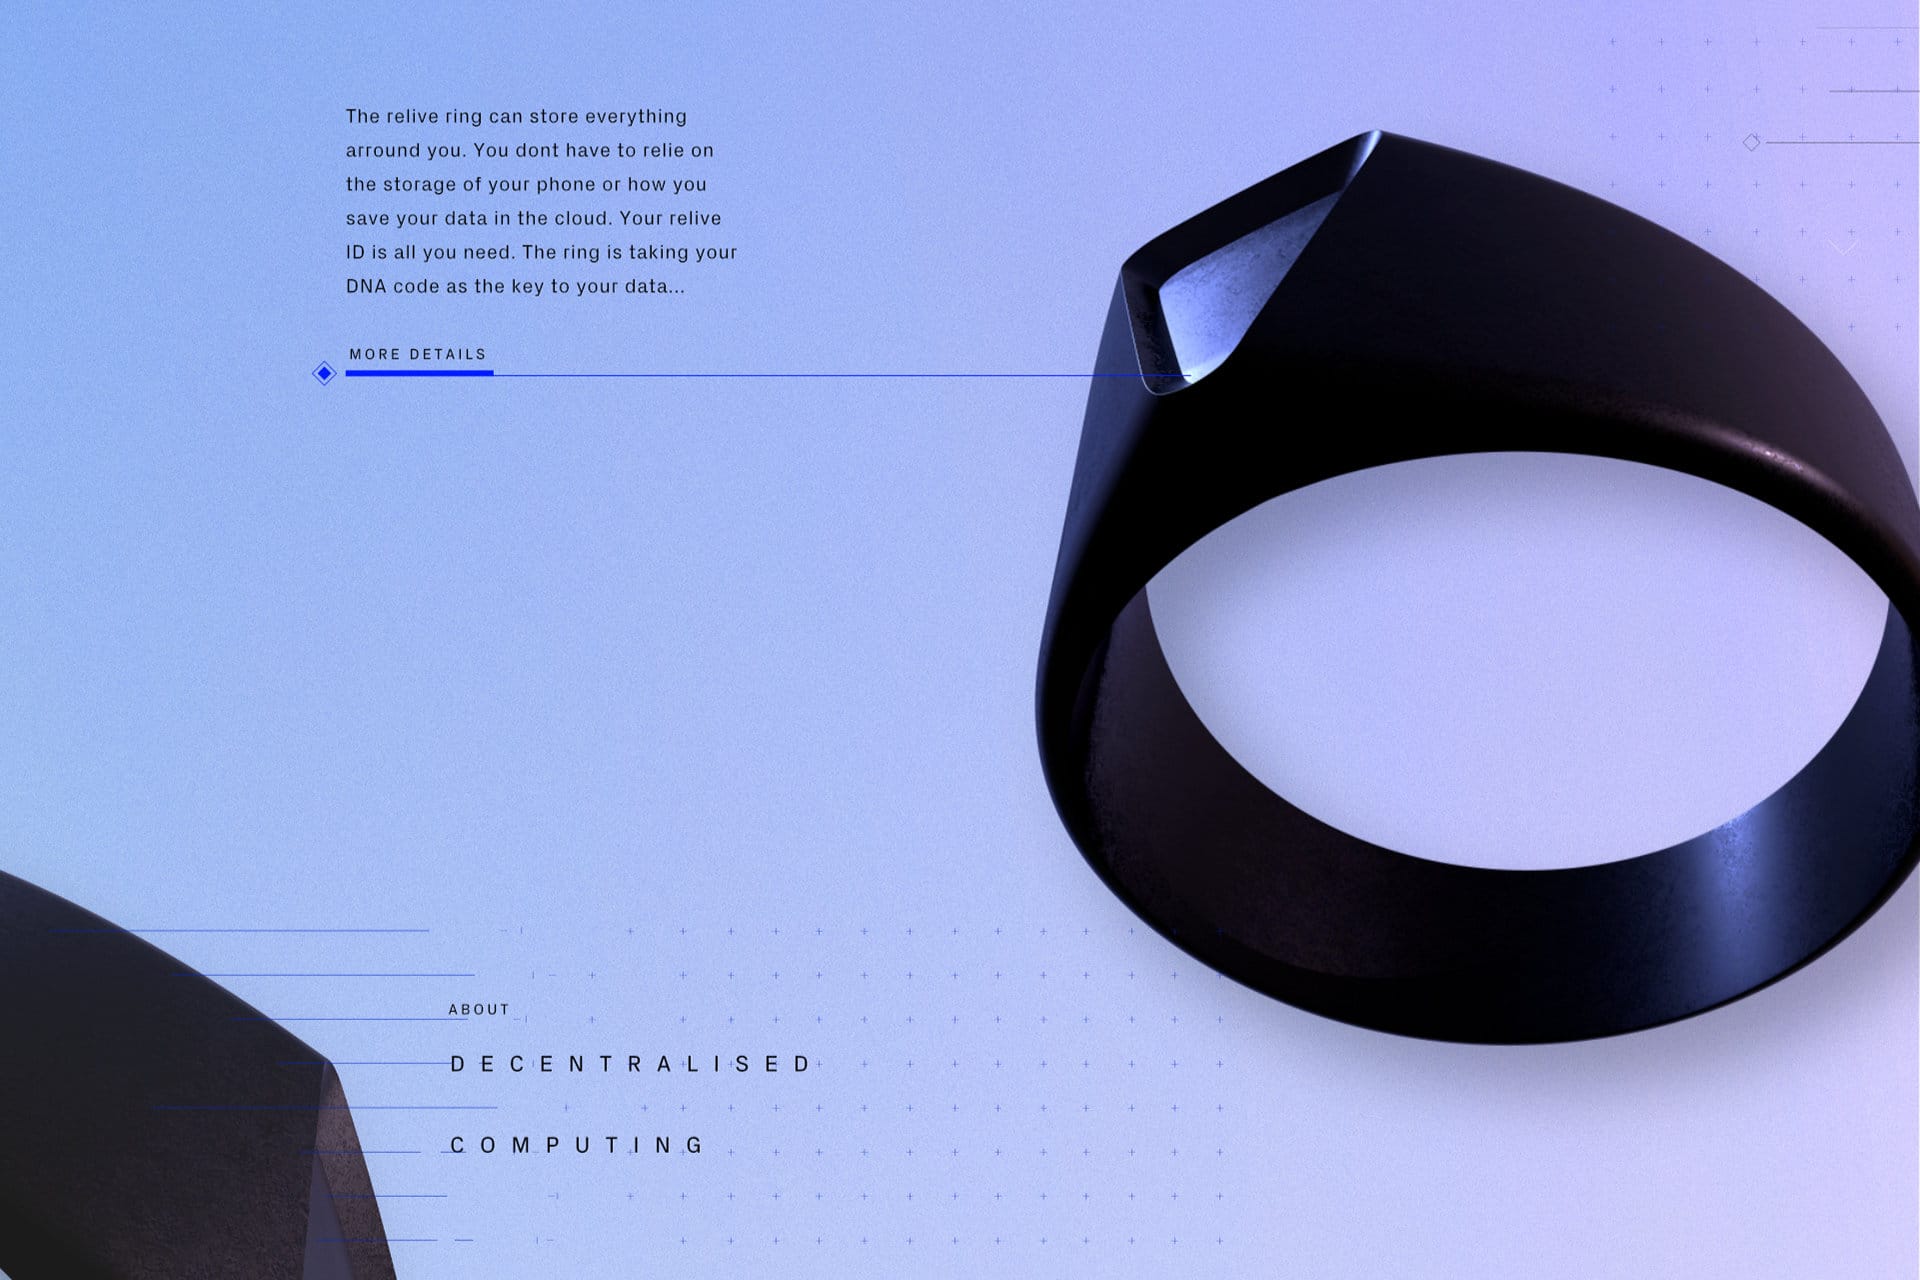
A ring to store data as personally and directly as possible. A ring is a symbol and acts as an interface to the relive cloud – a natural interface, since the cloud is primarily responsible for sensor management and networking.
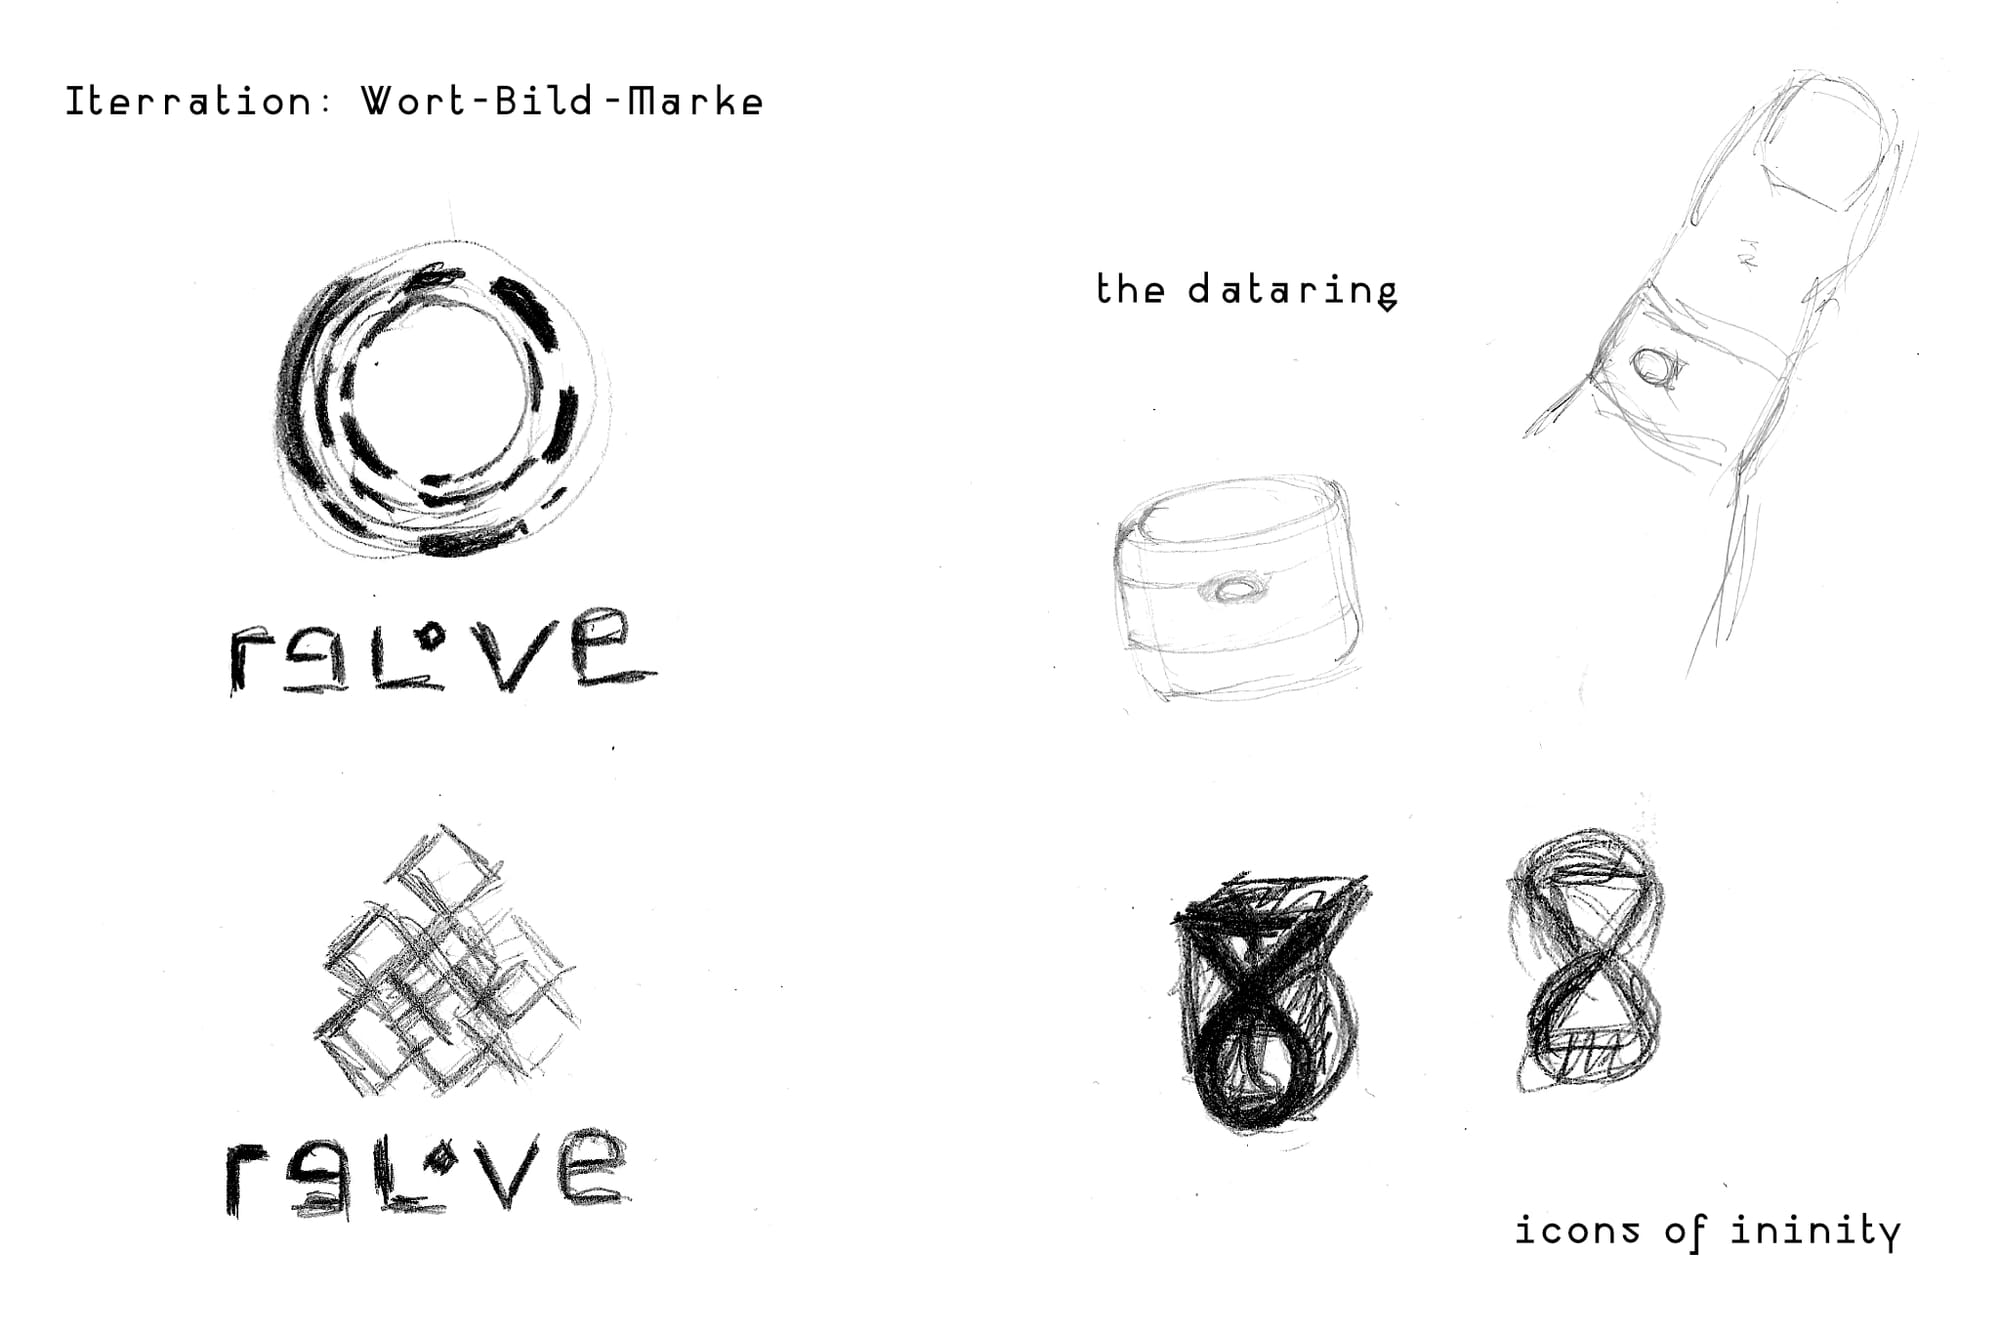
I spent a lot of time thinking about data – and especially about where it is stored. I am convinced this will become more and more important as awareness grows. The result is a simplified 3D logo that works across various media.
relive the exhibition
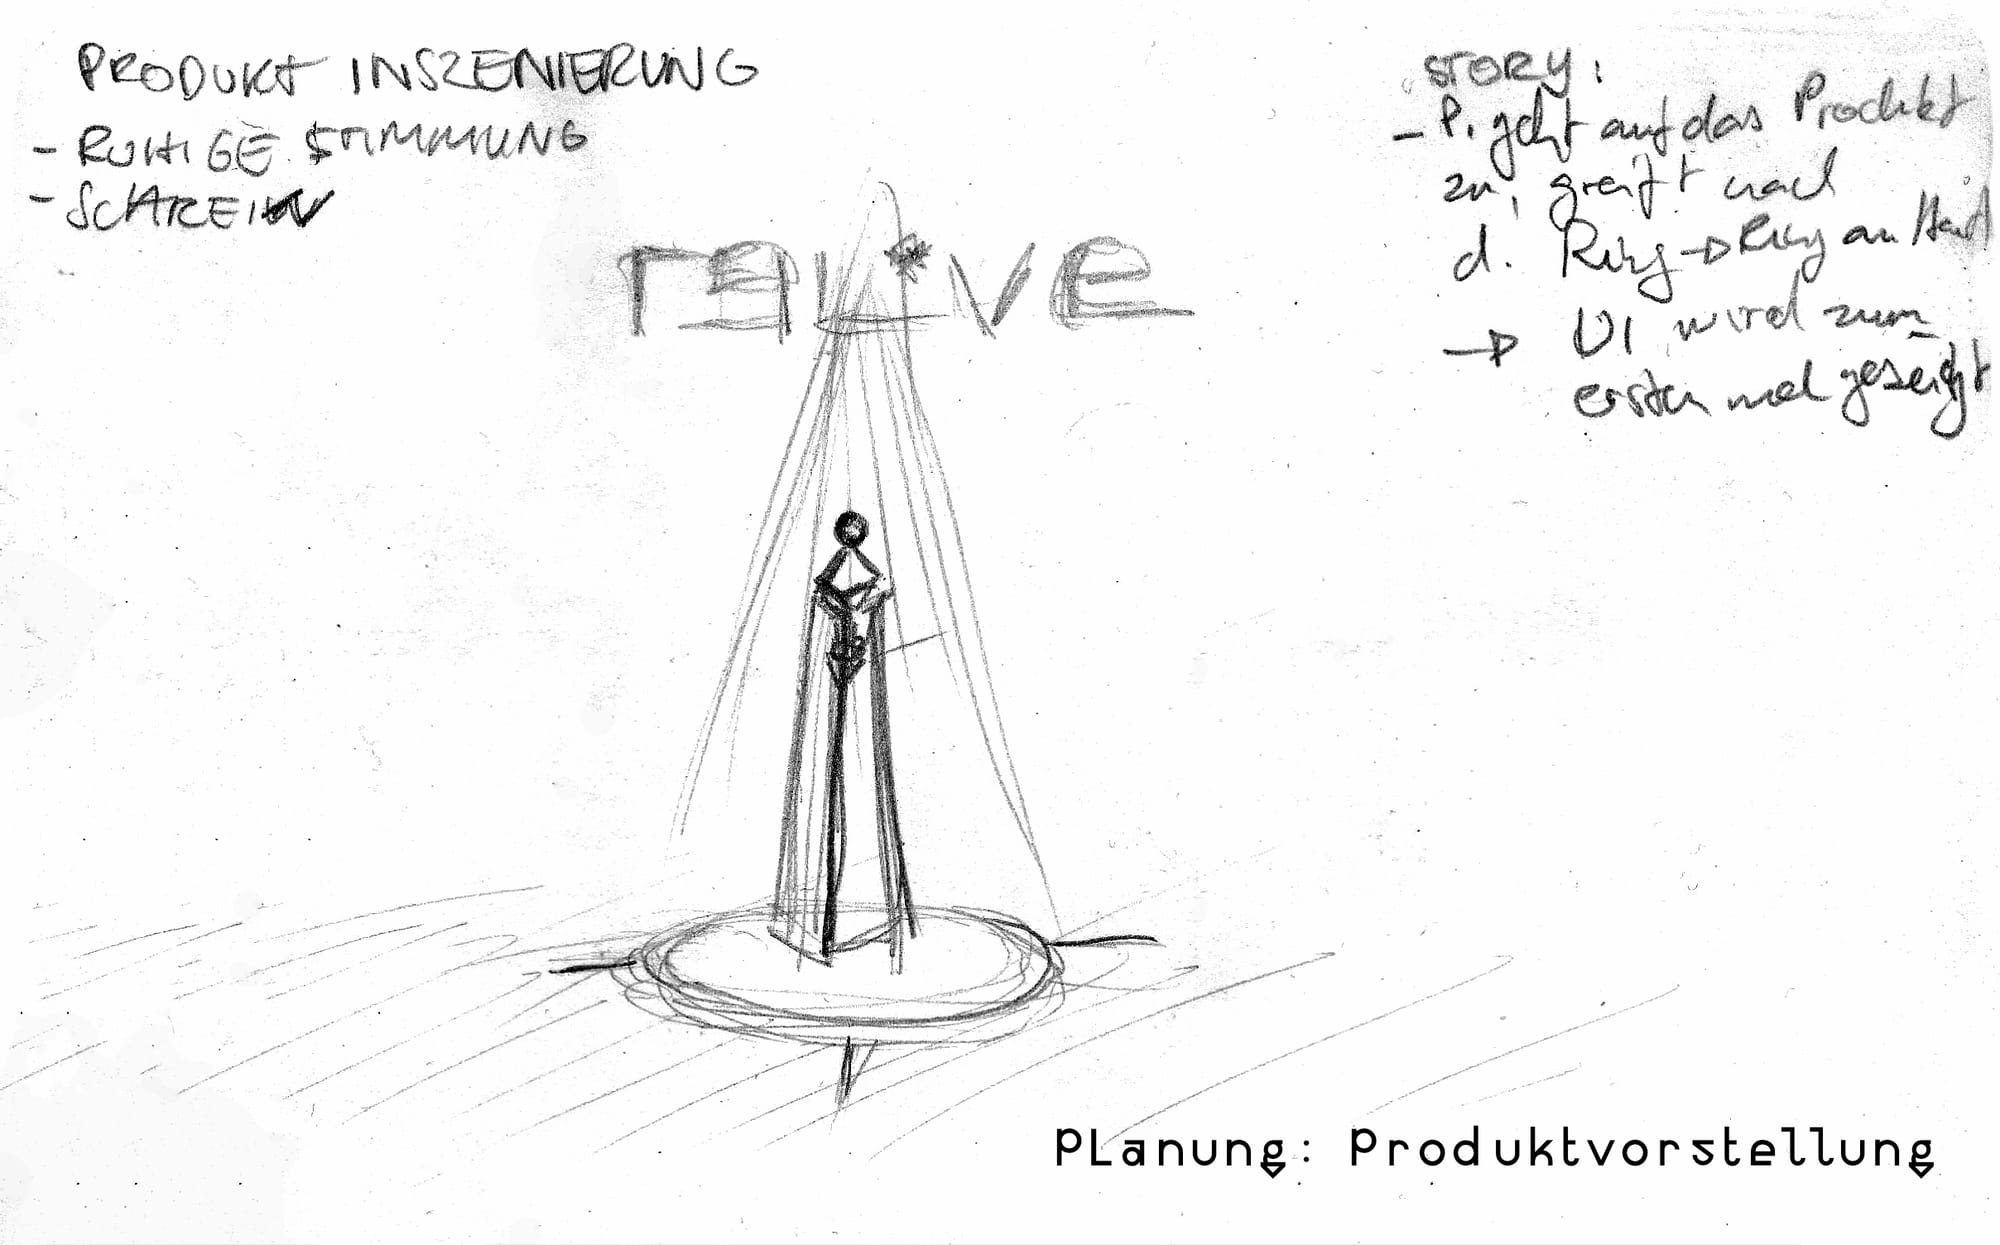
My diploma was of course exhibited in public. For that I built a custom stand mapped to the column in the virtual space – a seamless transition into the virtual world. As a small innovation, the VR headset could be placed on top of it, because that is exactly what exhibitions often forget.
The effect the different worlds had on visitors was incredible – from excitement, sadness and longing to an urgent desire to see more.
Remarks and Acknowledgements
Fortunately, there were people who accompanied me and believed in me during the intensive time with relive – despite me running around with huge eye rings and talking crazy stuff about DNA-based data storage.
- Alexander Meinhard, my coach, a top designer with a unique sense for colors, typography and interfaces. His advice and encouragement pushed me far beyond my own imagination. What must have seemed completely crazy to outsiders, he accepted as a creative process. I still have unique memories of that time – like the look on the café owner's face when I draped my Oculus Rift with multiple sensors on one of the tables.
- Prof. Dr. Alexander Kutter, the then CEO of VR-Nerds Solutions, where I was freelancing at the time. He supported me and believed in my ideas.
- Patrick Wienzek, the talented and above all patient XR developer who conjured up a lot of VR magic for VR-Nerds in a uniquely pragmatic way.
- Julian Heineken, the already experienced tech and shader developer who helped me especially with the visual implementation of the memory spheres.
- Christoph Spinger for his feature on the VR-Nerds news channel and the refreshingly funny way he presented my project – in the GAMEPLAY 👆🏽
Questions about XR experience design or spatial interfaces? Worth a conversation → ingmar@konnow.de · LinkedIn